9 Functions
Most of the time when we work in R, we will use functions; often pre-written functions that we access from baseR or installed packages. But you can also write your own functions. Eventually you could even turn a collection of your own functions into a package (for yourself or others).
Functions make it easy to use sets of code instructions repeatedly (without filling our scripts with the code underlying the function) and help us carry out multiple tasks in a single step without having to go through the details of how the steps are executed.
9.1 Structuring a function
R makes it easy to create user defined functions by using function(). Here is how it works:
my_function_name <- function(my_args) {
  # code to run
  # return (some value)
}
Give your function an object name and assign the function to it, e.g.
my_function_name <- function().Within the parentheses you specify inputs and arguments just like how pre-written functions work, e.g.
function(my_args).Next, put all the code you want your function to execute inside curly brackets like this:
function(my_args) {code to run}Use
return()to specify what you want to your function to output once it is done running the code.
9.2 Activity 1: Understand the function
Here is a very simple function. Can you guess what it does?
add_one <- function(input_data) {
  return(input_data + 1)
}
add_one(10)## [1] 11What value did you get when running the function above?
Now try applying your function to this vector:
number_series <- c(1,5,10)You should see it worked on each element inside the vector. This emphasises that R is a vector based language (it will by default apply functions on all elements in an object).
9.3 Activity 2: Write your own function:
I’ve started writing a function for you that will square values, sum them and divide by
n-1. To take the square root, we use thesqrt()function.Complete this function by filling in input_data for the
sqrt(), and then filling in the remaining empty parentheses with the appropriate object names.Now test your function on the
number_seriesvector (or any other vector you like).
What is the function retruning when applied to a vector?
# Use the instructions above to complete the function below
variance <- function(input_data){
  square <- sqrt(__)
  ss <- sum(__)
  variance <- (__/(length(__)-1))
  return(__)
}

# Use vector (or make a new one) and try out your new function


variance(number_series)
A general rule of thumb. If you end up repeating a line of code more than three times in a script - you should write a function to do the work instead. And write clear comments on its use!
Why?
It reduces the numbers of lines of code in your script, it reduces the amount of repetition in the code, if you need to make changes you can change the function without having to hunt through all of your code.
A really good way to organise your functions is to organise them into a separate script to the rest of your analysis. Write functions in a separate script and use source("scripts/functions.R")
9.4 Argument defaults
This is an example of a very simple function that just prints the string "Hello World" whenever you type the function say_hello()
say_hello <- function(){
  paste("Hello World")
}

say_hello()
## [1] "Hello World"9.4.1 Activity 3: Understand arguments
What happens when you try to put something in the brackets when using this function?
e.g. say_hello("Phil")Now lets try a similar function, but we include an argument:
say_morning <- function(x){
  paste("Good morning", x)
}

#  what about this one?
say_morning("Phil")
## [1] "Good morning Phil"So that was an example where we included an argument for our function. But now it requires a value be provided in order to work.
9.4.1.1 Argument defaults
However, you are probably used to the idea that many functions have "default" values for arguments, and we can easily set these.
say_morning_default <- function(name = "you"){
  paste("Good morning", name)
}

say_morning_default()
## [1] "Good morning you"There is now a default value supplied to the argument, but this should still be able to changed when running the function. Try it!
9.5 Conditonal functions
Let's make a function that reports p-values in APA format (with "p = [rounded value]" when p >= .001 and "p < .001" when p < .001).
You can add a default value to any argument. If that argument is skipped, then the function uses the default argument.
First we could make a function that rounds any value to three digits.
report_p <- function(p, digits = 3) {
      roundp <- round(p, digits)
    reported <-  paste("p =", roundp)

    return(reported)
}
But we would like this to have a conditional response as well: so we need and if else statement (or if_else)
9.6 Scope
Note that any objects created inside a function, stay in the function. So it is possible to have variables with the same name (one inside a function, one in the R environment). Changing the values of one will have no effect on the other.
9.7 Warnings and errors
What happens when omit an argument for p, set the value to 1.5 or a character "a"?
Sometimes the function will not run, in the first example because we did not provide an argument default.
For p = 1.5 it probably shouldn't run (p = 1.5 makes no sense), but it does!
For p = "a" there is a warning but perhaps not a very intuitive one.
We can make our own custom/specific warnings, try this and run it with the arguments above again!
9.8 Anonymous functions
Anonymous functions are ones where the function definition is not bound to an R object. That is the function may be created and used but never assigned to a variable. We don't normally encounter these out in the "wild", but may be quite common when used with Iteration (see next chapter).
function(input_data) {
  return(input_data + 1)
}
9.9 Activity 3 : Stretch Exercise
We are going to try and write a custom function called find_largest_male(), it will be used to identify the largest male Drosophila from a small dataset.
# Make some fake data into a tibble

vial <- (c((1:10),(1:10)))
sex <- (c(rep("male",10),rep("female", 10)))
weight_mg <- c(rnorm(10, mean=0.2, sd=0.02), rnorm(10, mean=0.21, sd=0.01))

dros_weight <- tibble(vial, sex, weight_mg)
9.9.0.1 Step 1.
What functions would you use to extract the heaviest male from this dataset? Try and think that through first.
9.9.0.2 Step 2.
Abstract your lines of code to make a function. How could you remove the data and introduce a placeholder instead?
9.9.0.3 Step 3.
Now we have a basic function we can work to refine and extend it.
What if we made a function that could pick the largest Drosophila overall, or filter by male or female depending on what we need?
Could we extend it to return more than one value if requested?
To make an argument except more than one value as the potential default at once use c("male", "female")
9.10 Activity 4: Custom ggplot themes
It is often the case that we start to default to a particular 'style' for our figures, or you may be making several similar figures within a research paper. Creating custom functions can extend to making our own custom ggplot themes. You have probably already used theme variants such as theme_bw(), theme_void(), theme_minimal() - these are incredibly useful, but you might find you still wish to make consistent changes.
Here is a plot we can make with the dros_weight tibble:
plot <- dros_weight %>%
  ggplot(aes(x=sex,
         y=weight_mg))+
  geom_jitter(width = 0.1)

plot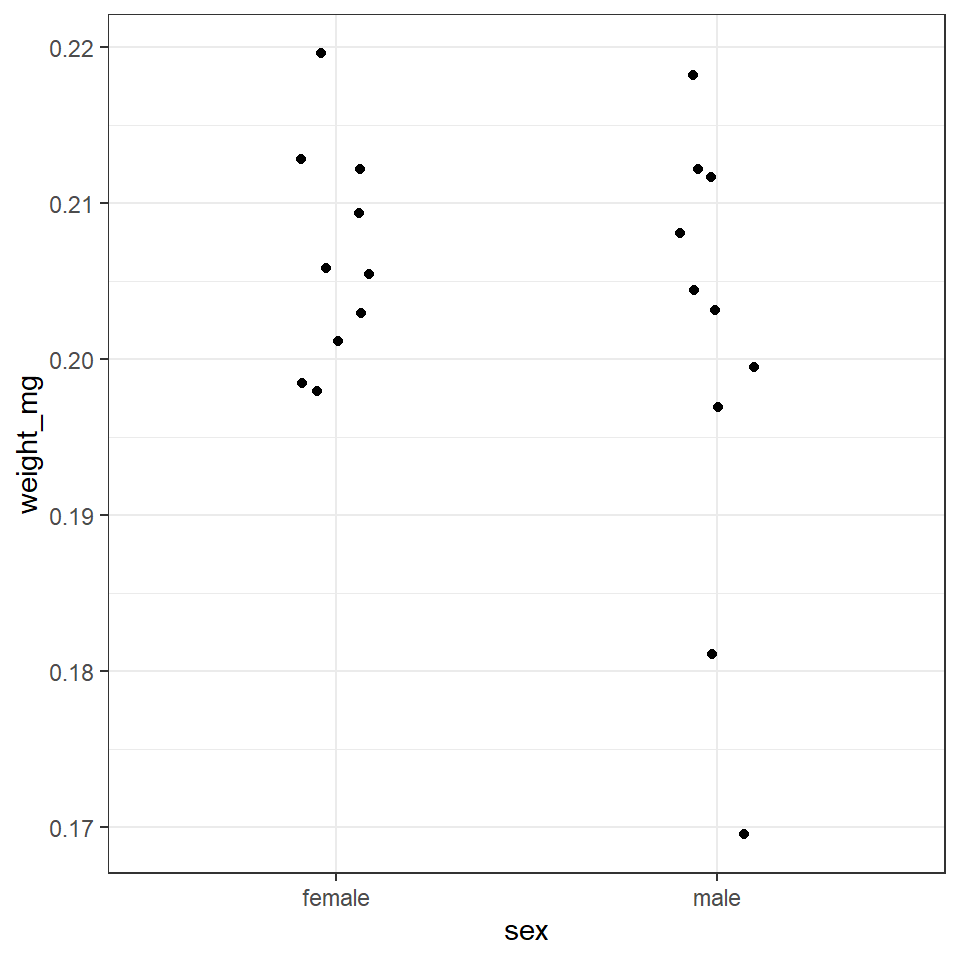
With the addition of a title and theme_classic() we can improve the style quickly
plot+
  ggtitle("Comparison of weights (mg) between \nmale and female Drosophila")+
  theme_classic()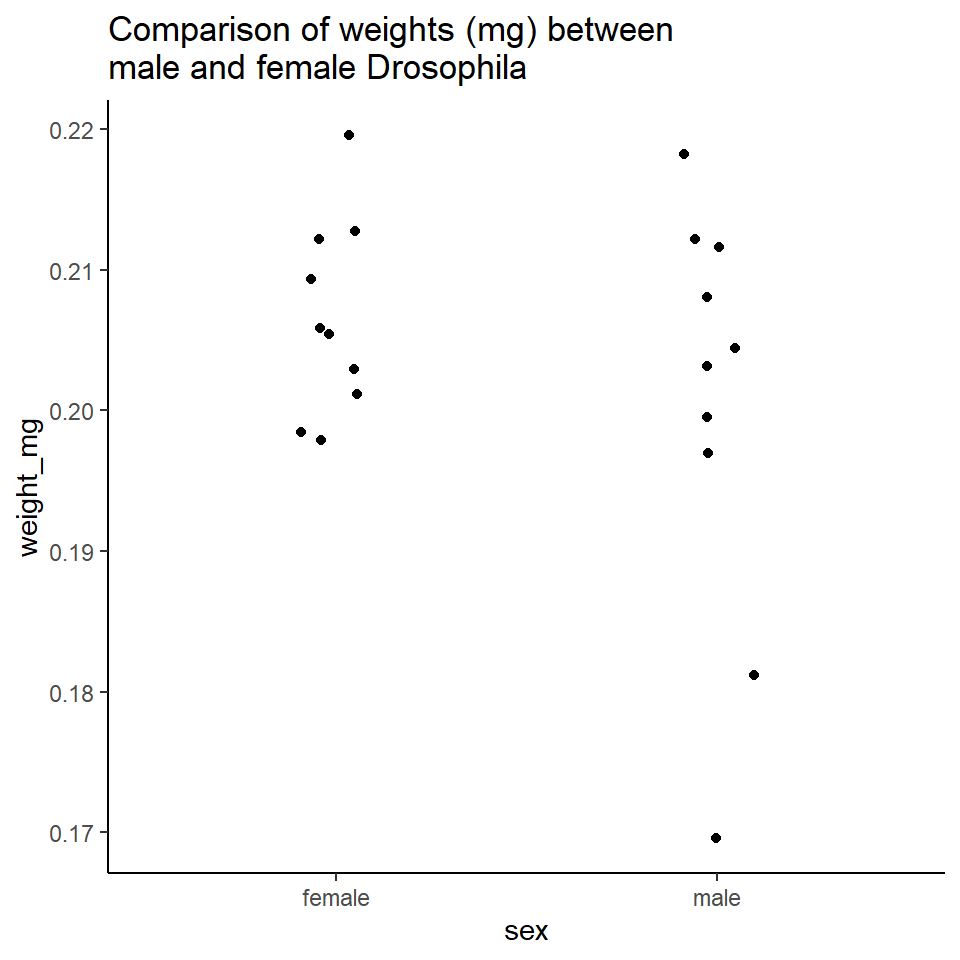
But I still want to make some more changes, rather than do this work for one figure, and potentially have to repeat this several times for subsequent figures, I can decide to make a new function instead. See here for a full breakdown of the arguments for the theme() function.
Note when using a pre-set theme, and then modifying it further, it is important to get the order of syntax correct e.g
theme_classic + theme() # is correct
theme() + theme_classic() # will not work as intended
# custom theme sets defaults for font and size, but these can be changed without changing the function
theme_custom <- function(base_size=12, base_family="serif"){
  theme_classic(base_size = base_size,
                base_family = base_family,
                )  %+replace%
# update theme minimal
theme(
  # specify default settings for plot titles - use rel to set titles relative to base size
  plot.title=element_text(size=rel(1.5),
      face="bold",
      family=base_family),
  #specify defaults for axis titles
  axis.title=element_text(
    size=rel(1),
    family=base_family),
  # specify position for y axis title
  axis.title.y=element_text(margin = margin(r = 10, l= 10)),
  # specify position for x axis title
  axis.title.x = element_text(margin = margin( t = 10, b = 10)),
  # set major y grid lines
  panel.grid.major.y = element_line(colour="gray", size=0.5),
  # add axis lines
  axis.line=element_line(),
   # Adding a 0.5cm margin around the plot
  plot.margin = unit(c(0.2, 0.5, 0.5, 0.5), units = , "cm"),
   # Setting the font for the legend text
  legend.text = element_text(face = "italic"),
    # Removing the legend title
          legend.title = element_blank(),
   # Setting the position for the legend - 0 is left/bottom, 1 is top/right
          legend.position = c(0.9, 0.8)
)

}
With this function set, I can now use it for as many figures as I wish. To use it in the future I should probably save it in a unique script, with a clear title and comments for future use.
I could then easily use source("custom_theme_function.R") to make this available to any scripts I was using.
plot+
theme_custom()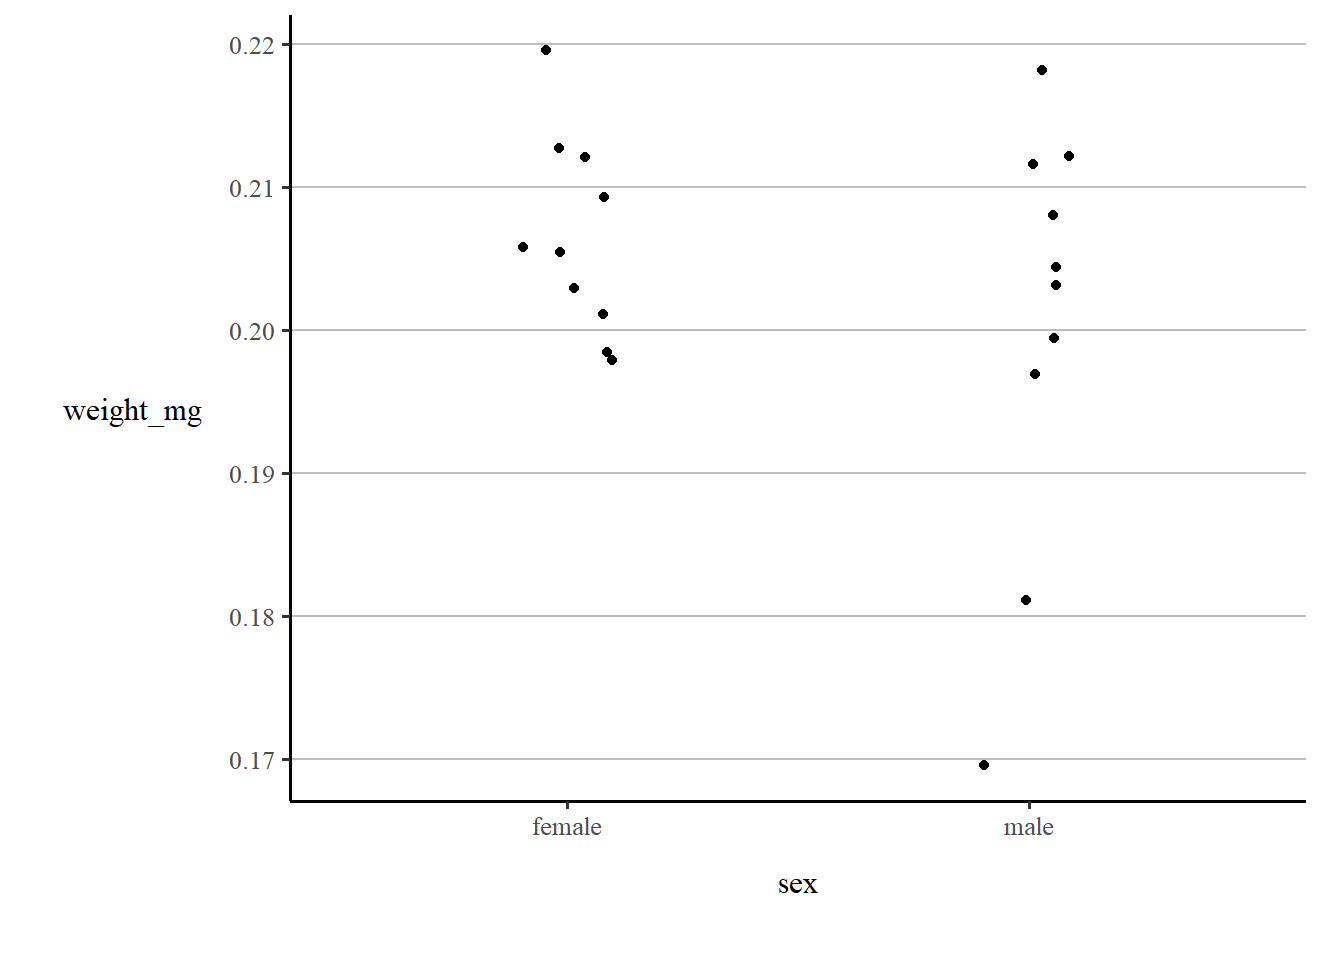
Functions are about 'abstracting' a command, so it can be used more than once. If you are having trouble writing a function, start by writing a standard set of commands as you would to solve a specific problem. Then work backwards to turn this into a function.
9.11 Writing Packages
You should be familiar by now with the idea that R packages add data and functions to your workspace. They are bundles of code that anyone can write, most commonly you will be downloading packages from CRAN. However development stage packages can also be downloaded directly from GitHub.
In the previous section we walked through some very basic writing of new functions. We can save these as R scripts and move them from project to project. Or we could choose to write them into a documented R package. This tutorial shows you just how to do that. Writing packages is a useful thing to do, even if you think the only person that will ever use them is yourself, as you then more easily access these functions across different workspaces and projects.